Showing posts with label Simon Says Stamp. Show all posts

Wednesday, August 10, 2022

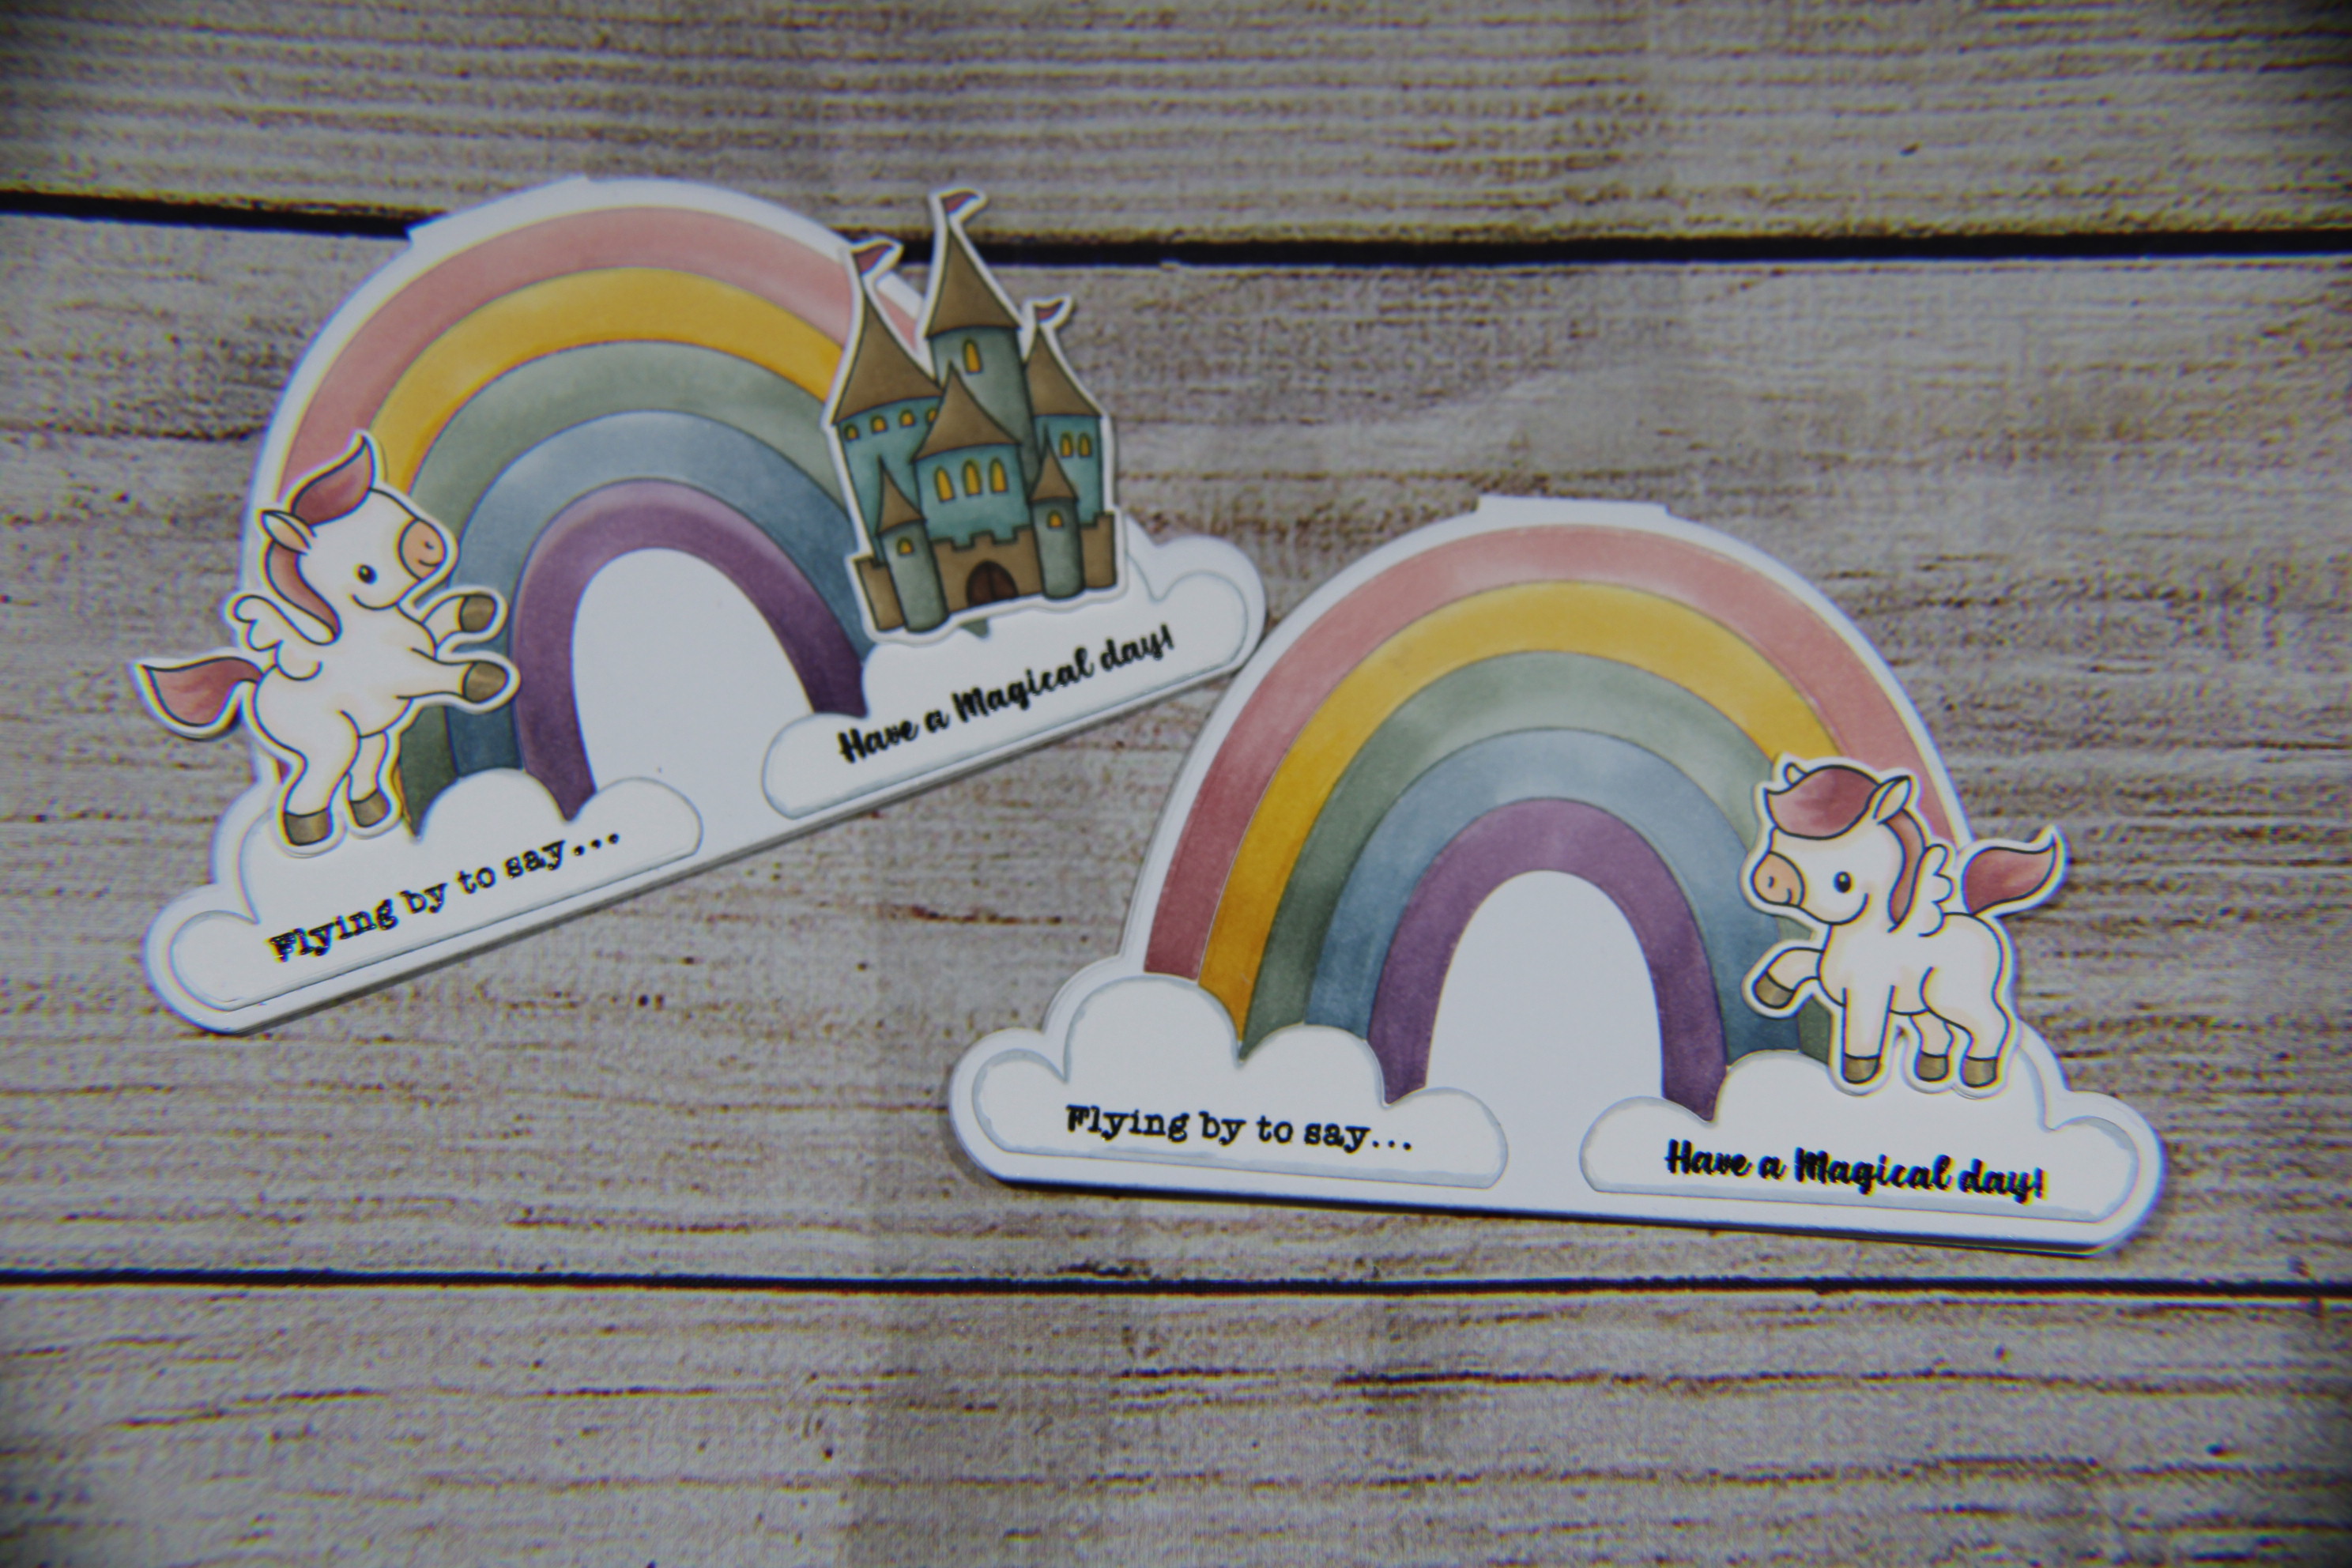
Born To Sparkle Card made with stamps and dies by Simon Says Stamp

 Hello crafty friends. 

Sorry I haven't posted anything in the last couple of weeks. I've been busy shooting videos of my handmade cards.  I've created lots of content, but it has not yet been edited.

This will be short, but sweet. I've got lots of cards to post.  So, here's the first of many.


The products I used to create this card are listed below:

Born To Sparkle Stamp Set – Simon Says Stamp

Rainbow Card Die Set – Simon Says Stamp

Spectrum Noir Triblend Brush Markers Set 1 & Spectrum Noir Triblend Brush Markers Extends:

AP3, AP1, AP4, FS8, FS7, FS6, GG3, GG1, VB3, VB2, MB4, MB3, EB7, EB4, GY1, GY3, DP4, DP3, DP1, IG1, BT5, BT3, BT2, BGR3, BGR1

Prismacolor Colorless Blender

Brother Scan N Cut SDX125

Jet Black Ink – Lawn Fawn

Hammermill 100# Smooth White Cardstock

Reverse Tweezers

MISTI Stamp Positioning Tool – My Sweet Petunia

Platinum Die Cutting Machine - Spellbinders

Versifine Onyx Black Pigment Ink

Embossing Powder Tool - Inkadinkado

Superfine Clear Embossing Powder – WOW

MISTI Alignment Panels – Taylored Expressions


I hope you like what I've created using these products.

If you'd like to support my blog, please click on one of the links above and purchase one or many of these great products.

Bye for now.

Hugs!

By clicking on one of the links below, you will be forwarded to the store of your choice.

If you make a purchase, I will receive a small commission (at no extra cost to you).  This helps me to continue to bring you content.  The stores listed below carry products that I use/have used.  Any product I use in my creations is my own choice.  I occasionally will be given product(s) for free from companies that will ask me to do a review.  I will always give my actual opinion of a product I use.  I will never lie about a product in order to receive an affiliate commission.  It isn't worth it to me to lose your trust over a small commission.

 *As an Amazon Associate, I earn from qualifying purchases. 

Wednesday, April 20, 2022

2 For 1 Cards Made With Pretty Pink Posh Layered Stencils - Mini Slimline Cards

Hello, all you crafty card makers! I'm so grateful you've stopped by to see more of my handmade greeting cards.

I've watched several YouTube videos of card makers using the newer Pretty Pink Posh layered Candles and Cupcakes stencils and I fell in love.

I was pleasantly surprised that creating one layered stencil background could be cut into two pieces to cover 2 mini slimline cards.


The first 2 cards are created using one background made with the layered cupcake stencils. After creating the background, I wanted to cut it in half, but there are 5 columns of cupcakes and I didn't want to have 2 cards with a column of cut in half cupcakes.  I chose to cut the background down to 2 columns of cupcakes each and was left with a single column of cupcakes that I may or may not create another card with. 

For all four cards, I used Catherine Pooler inks since they blend so well.  On these cards I used: Mint To Be Hot Tub, Aquatini, All That Jazz, It's A Boy, Something Borrowed, Stone Blue, and Juniper Mist.

After inking the last layer, I covered the last stencil with Liquitex Basic Acrylic Iridescent Medium to give it a pearlescent shine.

The sentiments are from Pretty Pink Posh and Simon Says Stamp.  "Happy Birthday To You" is cut from Tonic Studios Mirror Cardstock (Tidal Wave), and layered with 2 additional die cuts from heavyweight white card stock for added dimension.  "It's Your Birthday" is cut from cheap-o black glossy cardstock I purchased from Amazon.com.  I also layered this sentiment with heavyweight white cardstock.

The card fronts were stamped using the Happy Birthday cling stamp from My Favorite Things, using Versimark ink, then covered with Wow Super Fine Opaque Bright White embossing powder and melted with my heat tool.  I then did an emboss resist blend with Catherine Pooler's It's A Boy ink. 


I'm absolutely in love with the layered Candles Stencils from Pretty Pink Posh.  I used Catherine Pooler inks again: It's A Boy, Something Borrowed, Aquatini, Limoncello, Sauna and Mint To Be. The flames were covered in Gina K Designs Glitz Glitter Gel in white, then topped with Crystal Clear Lacquer Pen from Hero Arts for an additional glossy shine.

This background was cut in half and trimmed down to cover 2 mini slimline cards.  I covered the card fronts with Aquatini ink, then stamped the "Happy Birthday" cling stamp from My Favorite Things with Unicorn White Ink from Hero Arts.  Unfortunately, I didn't wait long enough after ink blending the card fronts, and the white pigment ink absorbed into the dye ink causing it to lose its crispness.


The die-cut sentiments are from Mama Elephant's "Wishes Enclosed" stamps and dies.  The sentiment was stamped with Versifine Ink, covered with Wow Super Fine Clear Embossing Powder, then heated with a heat tool till it melted.

I didn't include any other embellishments since these layered stencils should be the star of the show.

I hope you've enjoyed these cards.  Please stop by occasionally to see my newest projects.

Bye friends!


Creating a Desert Scene with Copic Markers + Quokka Cowboys | Handmade Card + Giveaway!

Today I’m excited to share a brand-new handmade card project that’s extra fun, colorful, and perfect for anyone who loves scene building wit...